Faculteit der Letteren


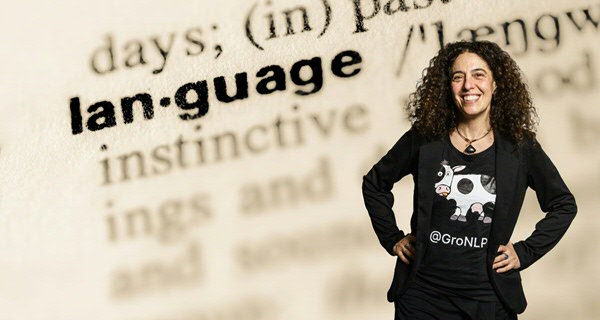
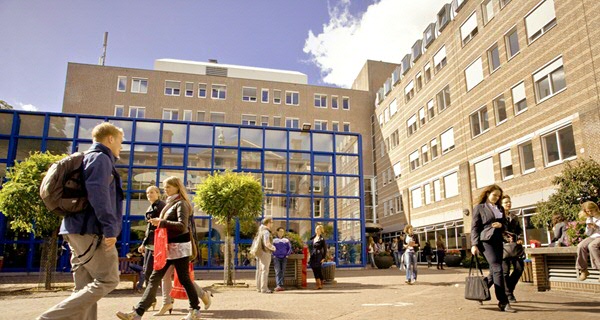
De Faculteit der Letteren is een grote dynamische faculteit in het hart van de stad Groningen. Ruim 5000 studenten en 700 medewerkers werken er elke dag aan de grenzen van het weten. De Faculteit heeft een gevarieerd onderwijsaanbod, dat bestaat uit 16 bacheloropleidingen en meer dan 50 mastertracks. Op internationaal gebied vindt er onderzoek plaats op het gebied van archeologie, cultuurstudies, geschiedenis, internationale betrekkingen, journalistiek, letter- en taalkunde.
Volg ons op Facebook | X | Instagram | LinkedIn | YouTube
Bekijk ons nieuwsoverzicht